
Having a clean(er) studio is always a bit inspiring. When I'm having trouble changing gears to a new project, this is a good strategy.
Today I finished cleaning up the studio enough to start on Oliver Kink's new clamshell box. This one is going to have two trays in the top. He expects to carry his iPad in one and a copy of his wildlife book in the other.
We talked about making drawers like we did for his previous box. But he settled on trays because he could leave them out if he wants extra capacity in the box.
Magnetic attachments for insurance
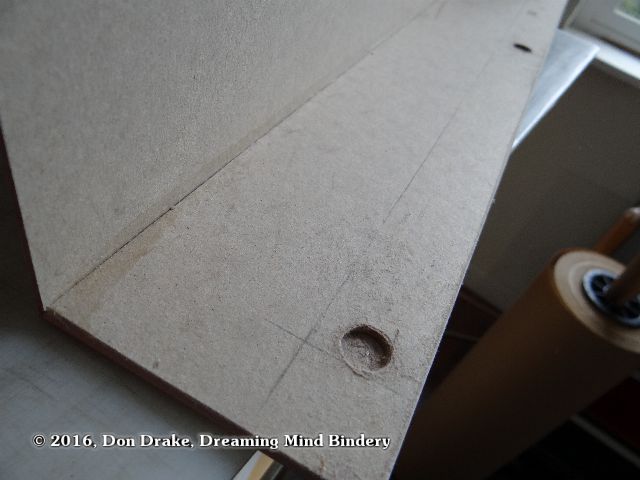
This box will have an open spine on the base shell so the pictures can slide across to the lid during display rather than requiring they be lifted out. But this means the trays may be forced down into the shell, past the rails meant to support them. This would spread the walls and damage the box.
To prevent this, magnets will be embedded in the box walls and steel plates will be placed in the tray walls. This will keep the shell walls pulled into place when the trays are inserted and prevent the spreading problem.
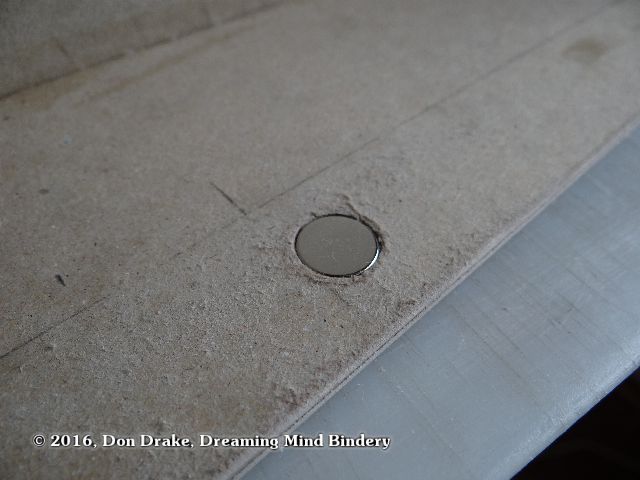
The magnet is a perfect fit. Next, epoxy it in place and sand everything smooth.
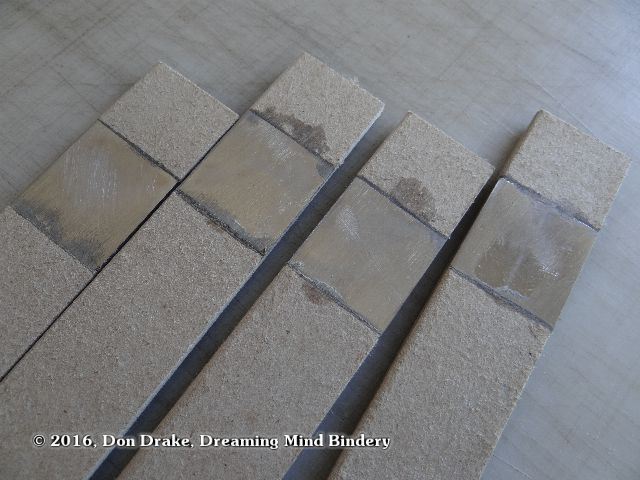
Steel strike plates mounted in the walls of a tray.
Except in rare cases I find it's better to use steel plates in combination with magnets rather than using a second magnet. The steel eliminates the problem of keeping track of magnet polarity.
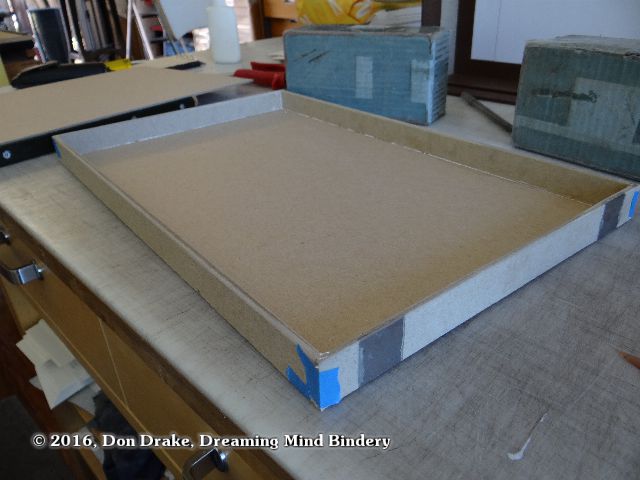
Laying the uncovered trays into the shell to verify proper fit.
I've assembled the trays and covered the base shell and now I want to test fit the trays before covering them. If they look tight, this is the last chance to do something about it.
Later, when the rails are installed in the base shell the trays will actually sit up flush with the top of the shell.
Now that the trays are verified for fit I've mounted the rails to support them inside the base shell. Pictured above I dry fit the lid shell over the base shell and you can see the rail inside the shells.
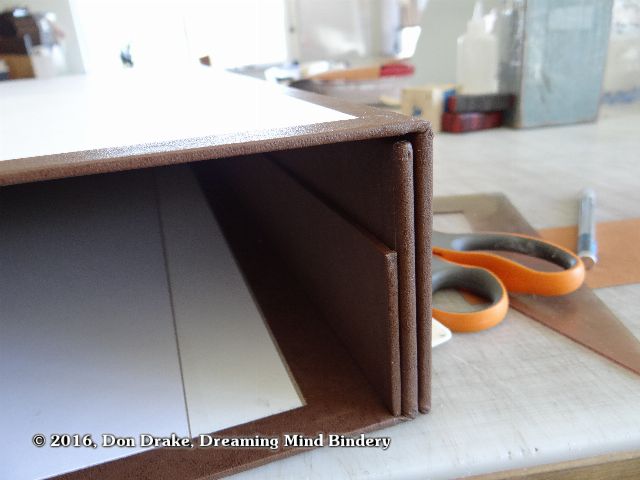
 Here is one of the trays prior to sanding. Although there is only one magnet on each side of the shells, I put two strike plates per side so the tray can be put in the box in either direction.
Bringing the components together
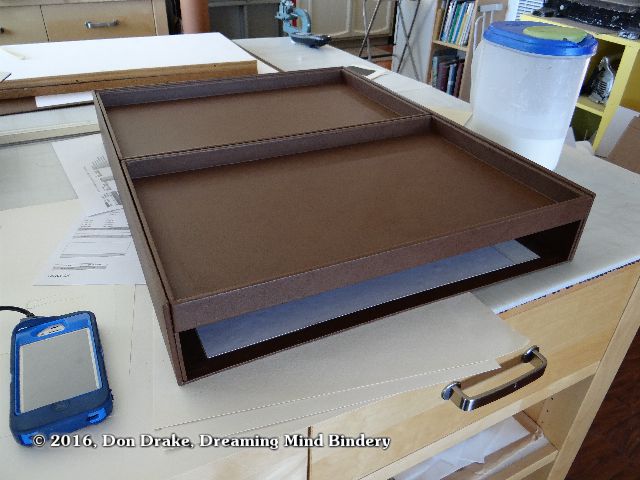
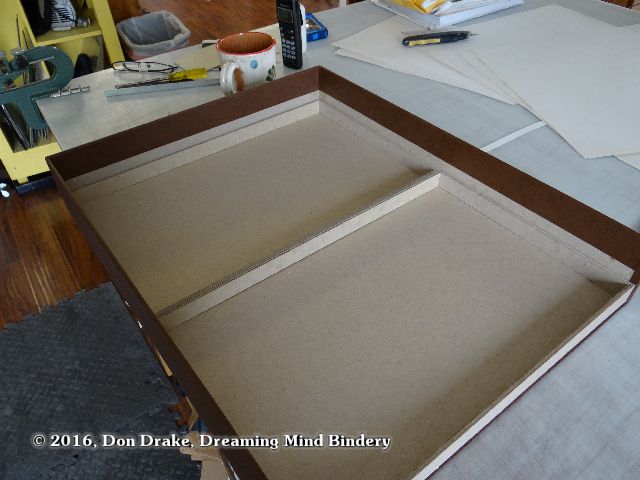
Here are the covered trays in place in the base shell before final assembly of the box.
Foil stamping, the finishing touch
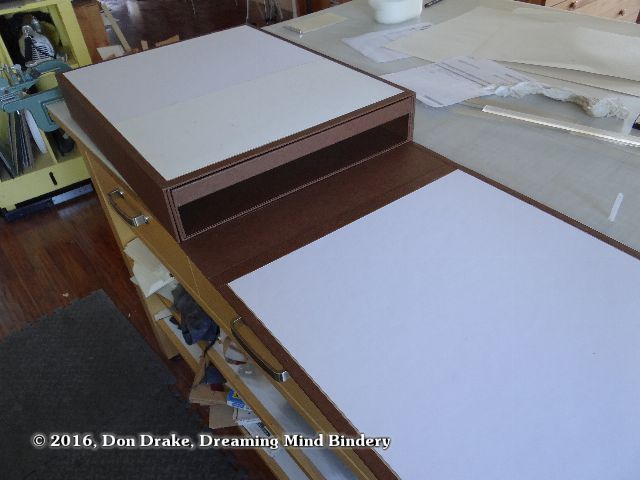
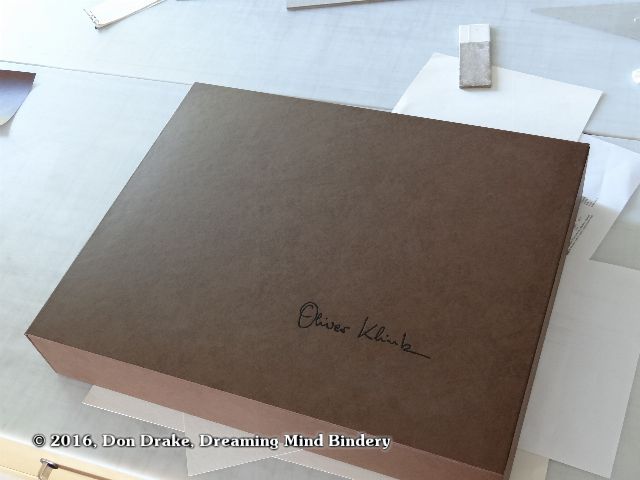
Here is the final dry-fit of all the assembled components prior to stamping and final assembly of the box. Everything looks great!
 Meanwhile, Oliver's signature die is heating up in the press in preparation for foil stamping the case of his box.
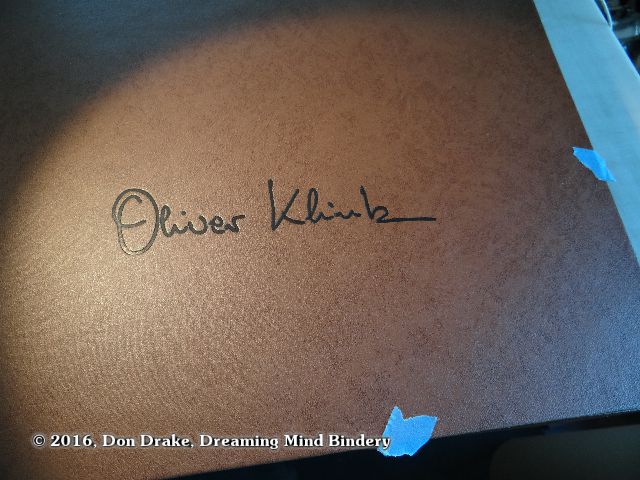
The foil stamping was successful. Now for final assembly.
Make special note of the pieces of blue painter's tape at the edges of the case. I put these on so I don't accidentally stamp the wrong corner of the box. I'm always liable to make inversion errors like this so I take special precautions to prevent them whenever I can.
The finished piece


The tray floors are double thickness to help resist sagging over time. The second layer is added as a panel that's inset slightly so it runs next to the rails rather than on them.