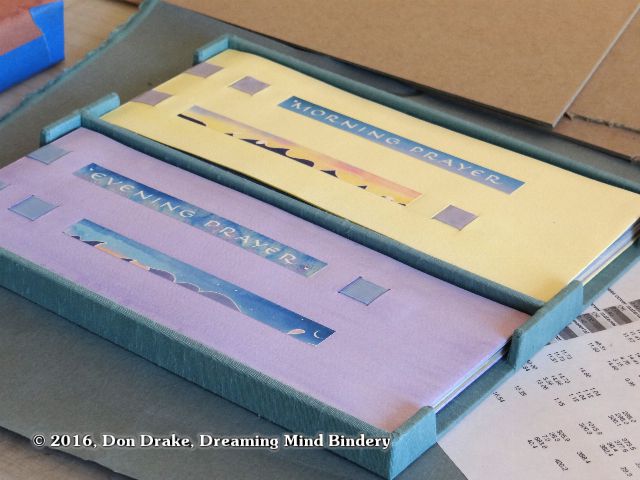
Cari Ferraro has a new edition, a pair of books, Morning Prayer and Evening Prayer and she wants the contained in a presentation box. I've worked with Cari in the past, providing box making services for other of her artist's books.
There are still a few questions open about the final details of this box, but we have settled on enough of the key features that I can get started on a prototype (which may be the final version if we make no changes).

After taking preliminary measurements, I drop the specs in my spread sheet and get a cutting schedule for the proposed box.
Based on the initial measurements and the cutting schedule they yield, I cut the base of the box first and check it against the actual books to verify that I am going to have the tolerances we agreed on in our initial consultation.
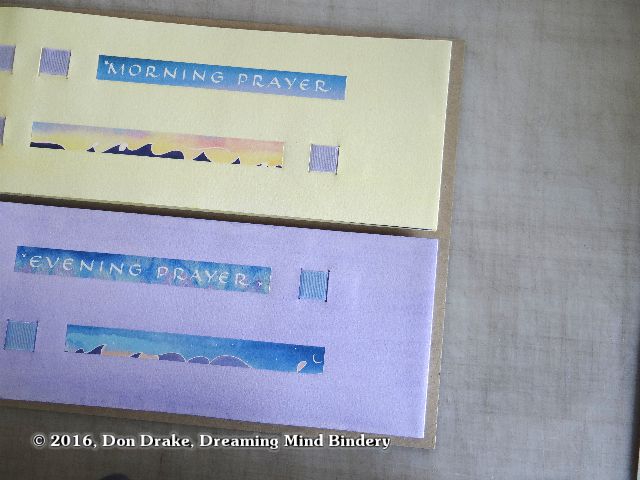
Verifying proper fit of the books on the base board before cutting other parts.
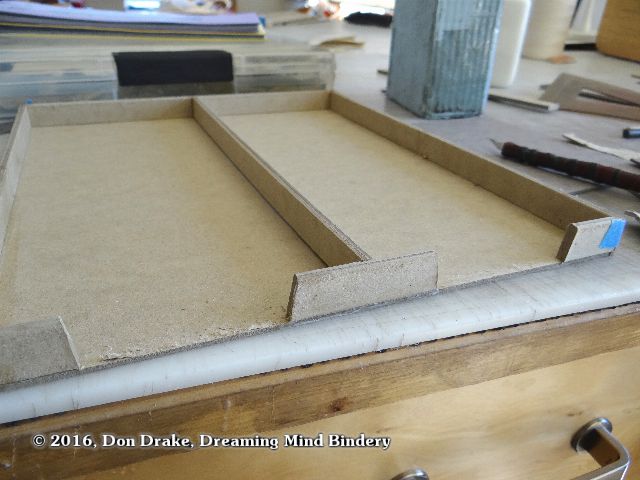
Once everything looks good, I start cutting the walls for the base shell. Of course I again verify the height of the walls against the books.
After assembling the outer walls and putting the divider wall temporarily in place, I check the fit to the books again. The box looks a little long to me. That will make the books hard to get out, even when I cut the finger slots on the sides. And it will allow the books too much movement in the box during transport and storage.
A little bit of fussy handwork and I can reduce the box width by two board thicknesses. Another check and it looks perfect to me.
Now that the box size has been modified (and the spreadsheet has been updated), the internal tolerance looks much better. I don't want the books to rub when taken in and out, but I want to keep the gap small enough so when the box with its content is moved around, the content doesn't have enough space to build up damaging acceleration forces.
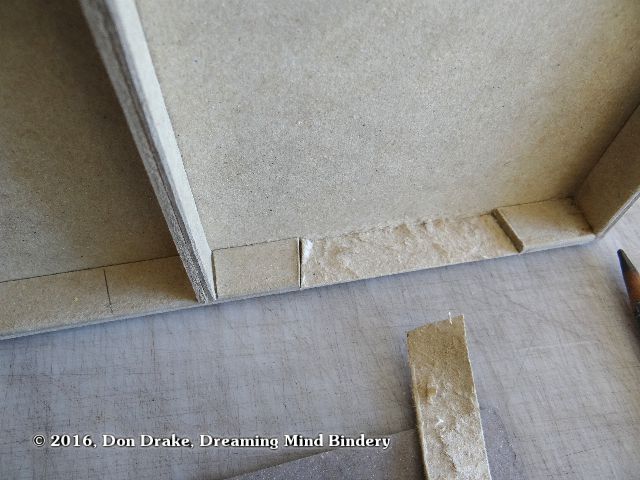
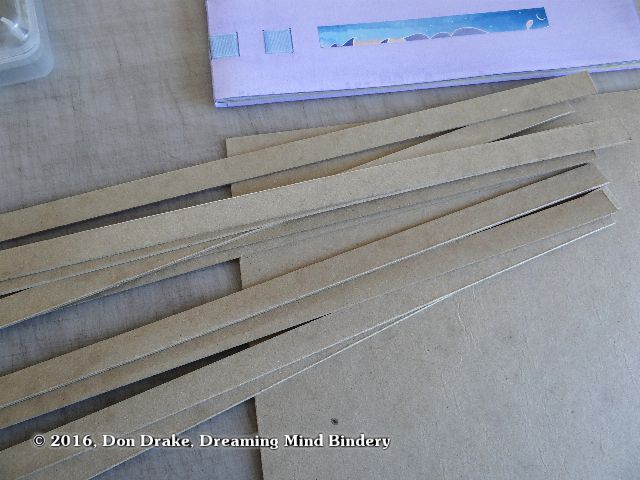
Now I'm starting to cut the finger gaps so the books can be easily removed from the box. Normally, I cut these before assembly. But since the walls are so shallow and the segments so short (and numerous), this would have caused a lot of trouble in construction. Much easier in this case to mark and them after assembly and peel them out, layer by layer.
The completed finger gaps on one side of the box.
And the books go back in the box again. This time the finger pulls are cut and I'm looking at the height of the walls and how the books will be removed from the box.

Normally, I make the bottom liner for boxes over 12 pt card and the finished liner is about 1mm thick. This time I'm going to cover .07 or .08 board and make the liner a tiny bit smaller than the books. This will raise the books up from the bottom and cantilevered slightly so it's easy to get your finger tips under the edge and remove the book.
If the books sat flat to the bottom, you might need to pick at them a little to get them up and this might lead to damage.
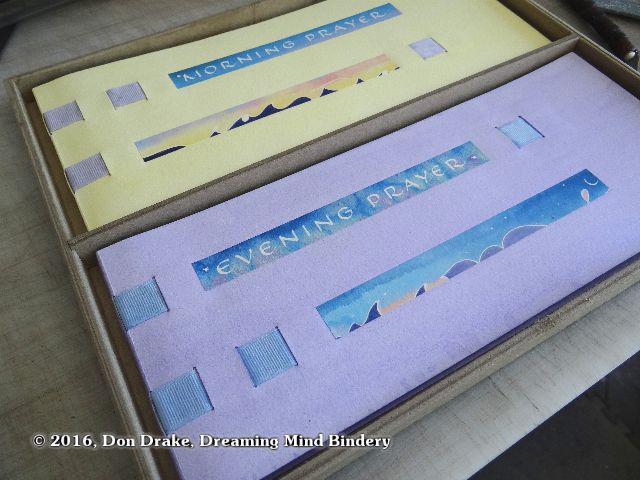
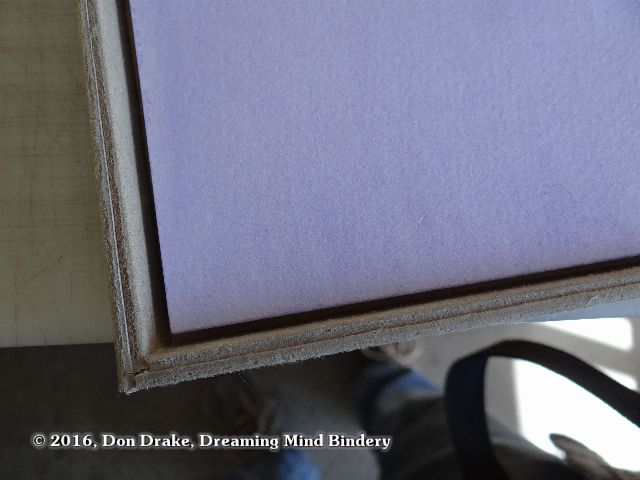
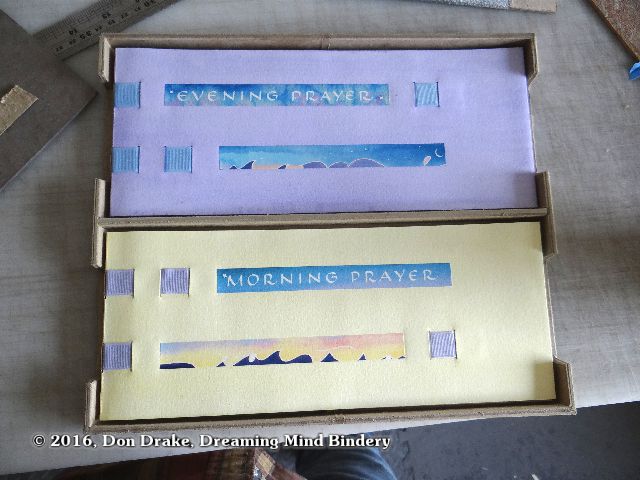
I've covered the base shell of Cari's box and placed the two books in it to check how everything looks.

Because of the nature of the book structures and materials, The books sag a little bit in their middles. Normally this is not very noticeable and it presents no problem at all for the function of the books. However, when putting the books into a box for final presentation, we have the box walls right at the edges of the books and this brings the feature to our attention. I'm afraid it makes the books feel slightly anemic.
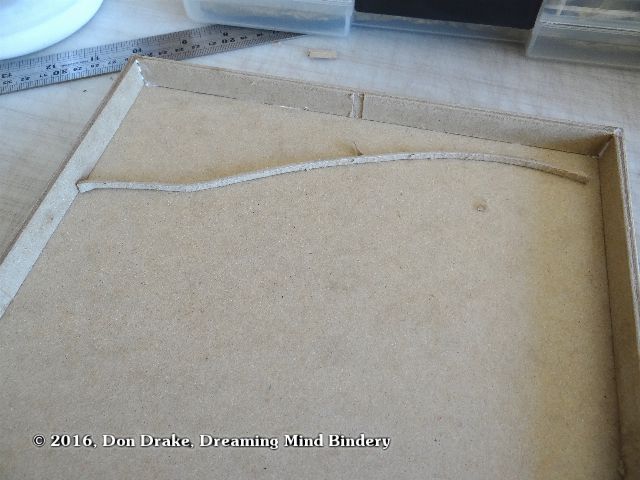
I fiddled with some shims to see if the books would drape properly if I put something under their centers to make their top surfaces flatter. It looked like the strategy would work, so I made a pair of arched panels to put in the bottom of the box.
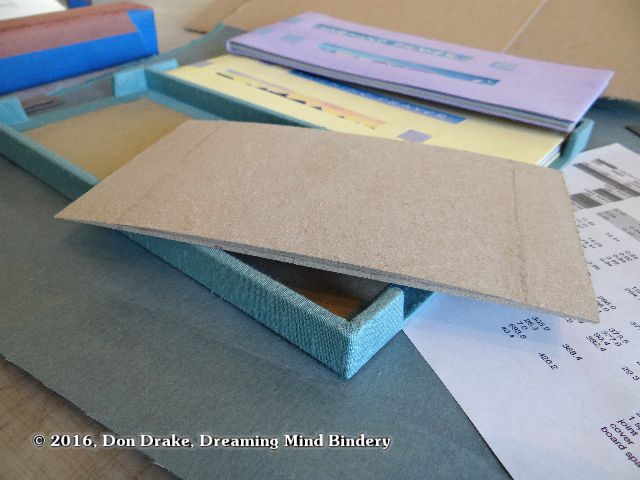
And with those panels in place and the books fit back in the box, the top surfaces are much flatter and the books feel stronger in their container!