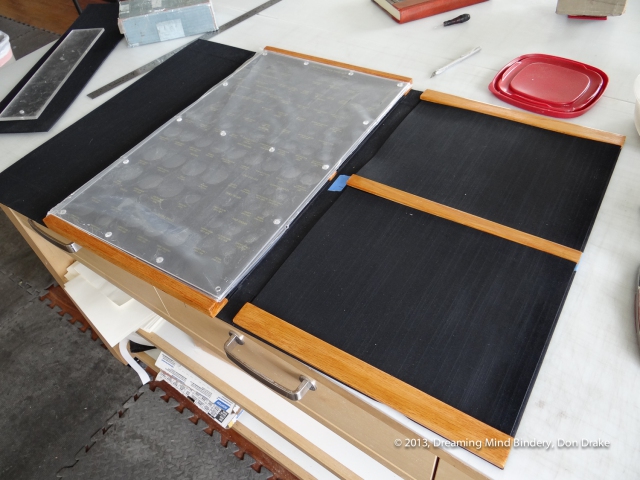
One of my long-time customers came with something completely different from his usual project. It turns out he's a coin collector and had a really extensive Jaco Products coin holder made for his existing and planned collection. The coin holder is really nice but his was (justifiably) concerned with scratching of the plastic surfaces over time. Could I create some container that would house the collection and protect the holder?
 I've been making rail boxes for photographic portfolios recently and I thought I could adapt the design to work in this situation. The key point: I had the screw heads that hold the plastic sandwich together to use as support point for the holder. With properly designed interior supports I imagined I could insure the main viewing fields of the holder were never in contact with anything that might scratch them.
This is what the piece looks like partially finished. The holder is resting in two rails with rabbets and the center of the span is supported by a third rail. The cover (on the right) brings three matching rails into place to lock the holder in suspension. The detail picture shows the two parts of the rail and how they will fit when the cover is closed.

This is where it all started.
Dave brought his coin holder out to the studio to describe the problem he hoped to solve. We kicked around some ideas and I made some sketches.
All that remains now is to actually MAKE the thing. Nothing to it.

A slight ease at the edge of a box lid to give the user's fingers clearance to lift open the top flap

A steel strike plate being installed in a box lid as part of a magnetic closure.
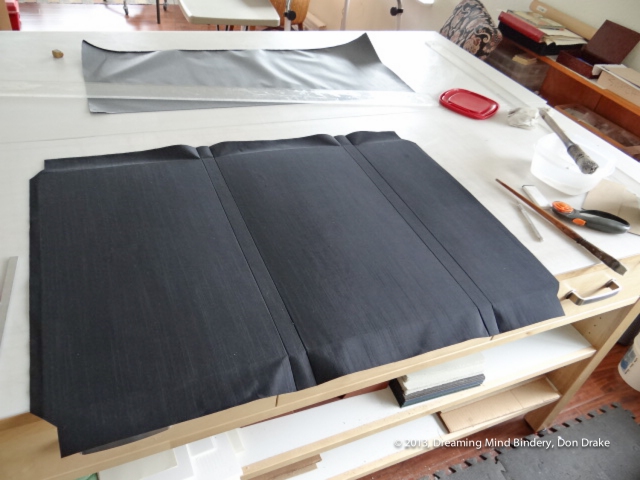
The case was the easy part. The rail box is a familiar structure after all. But this time I wanted a different closure. Rather than making the vertical wall on the right a magnetic flap, I wanted the top surface to be the magnetic flap. It would close half way over the front and a panel on the left would match it. This would give the long thin box even more vertical emphasis. A nice, elegant design I think.
The first detail picture shows a magnetic strike plate being installed. The other shows a small detail I thought would make the magnetic flap easier to open. When the box is closed you have one flat panel directly on top of another with their edges aligned. The small nip in the edge is in the bottom panel and should give a clear space for your finger tips to get a grip on the upper board to open it.

![A steel strike plate being installed in a box lid as part of a magnetic closure. ][(DSC02112.jpg "Protecting a Jaco Products Coin Holder")
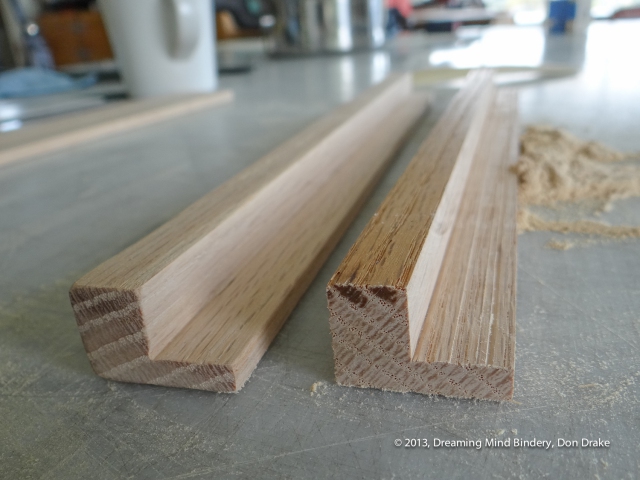
 The wooden rails required some close tolerance wood working. I broke out the dado head for my table saw and cut a slot in a piece of oak. This would make both the rails that needed rabbets. I just had to split the dado down the center and viol?! Those rails were just too small to risk my fingers cutting the rabbets directly with the table saw.


 An email with some sample pictures settled the issue of finish for the wood components. Classic amber shellac. A really nice look with the black cloth.
There was quite a bit of sanding required to get these pieces from their rough cuts and down to their final dimensions and finish.
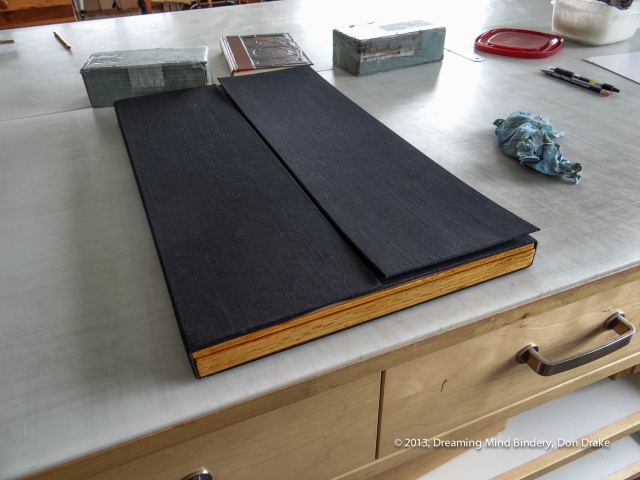
Now the rails have been sanded and finished. Also the additional panel for the front cover has been fabricated.
Another dry fit to make sure all is according to plan...
You can finally get a feel for what the finished piece will look like. You can also see the nip I took out of the lower cover boards as a finger grip.
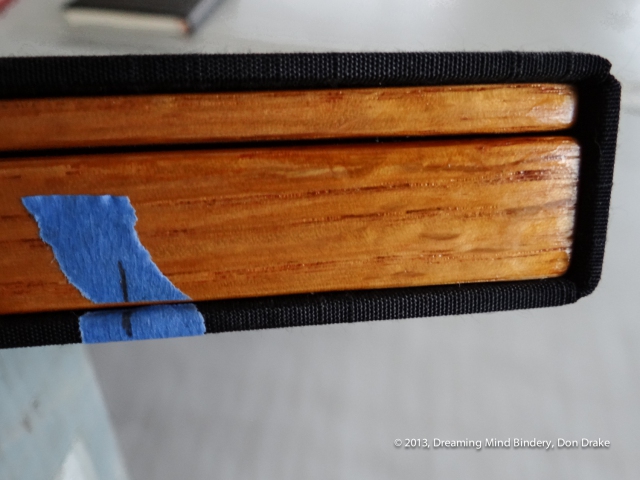
Using painters tape to mark the position of the oak rails for a custom box prior to their installation.
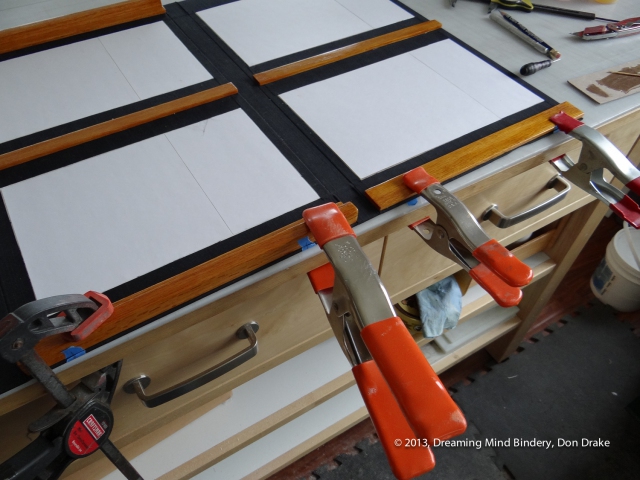
There is a lot of prep work in a box like this. Then, suddenly, everything starts to come together!
 Here the rails are being installed. It's almost impossible to tell exactly where they should go when the box is open. And if they shift to far either way, they'll prevent the box from closing properly. So a bit of fussy work with the parts dry fit, some tape and position marks... Now I'll have a guide during assembly to insure everything will work just right.
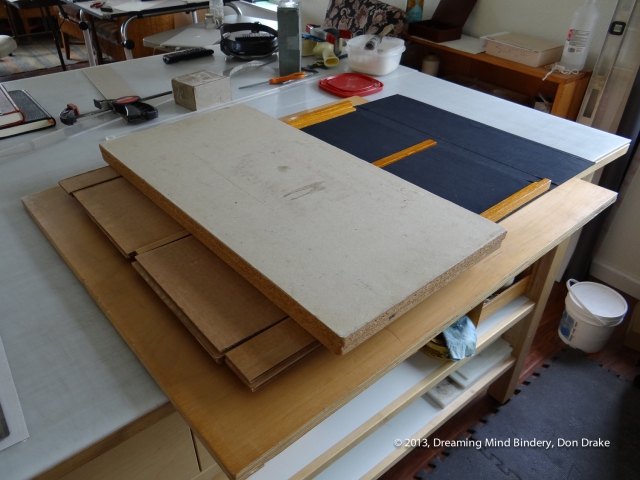
The last steps, installation of the 4 liners and the panel on the front cover.
To get everything pressed so that parts are securely attached I have to cut an elaborate pressing jig. It's worth it though to see the box finally taking it's final form!
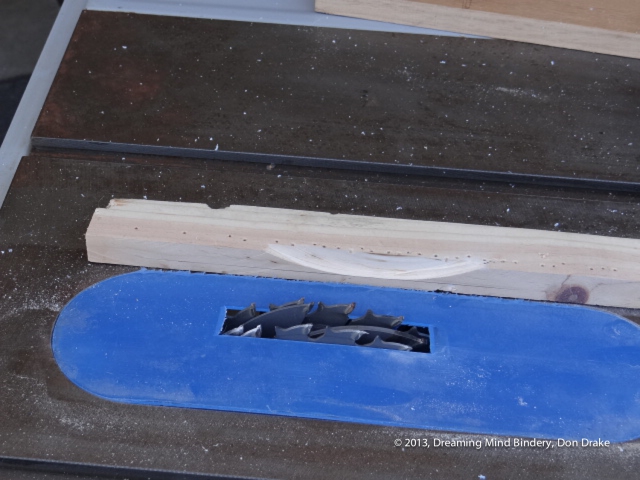
Setting up the dado head in a table saw in preparation for cutting oak box parts
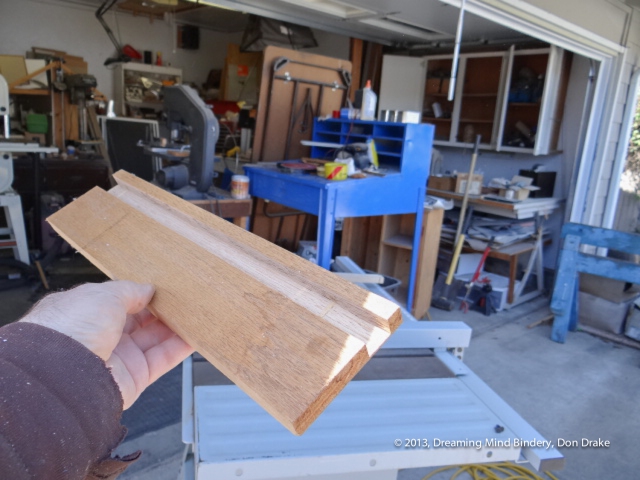
The completed dado in a piece of oak. This will eventually be cut to size and split through the center of the dado to create two rails with rabbets.
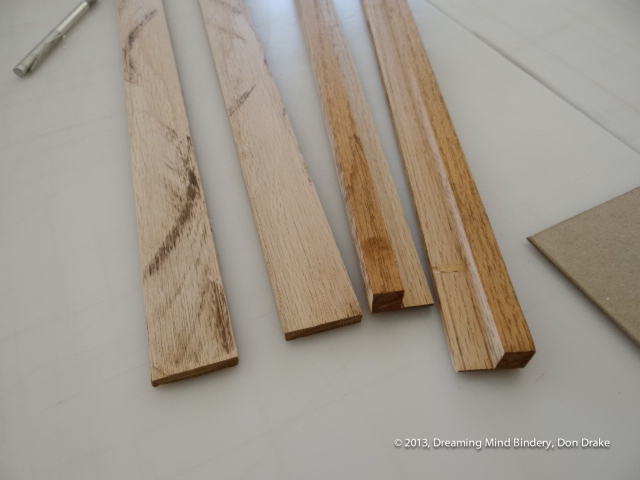
The rough cut rails for the Jaco Products coin holder box. The coin holder will rest in the rabbets and be held in place with the flat wooden strips
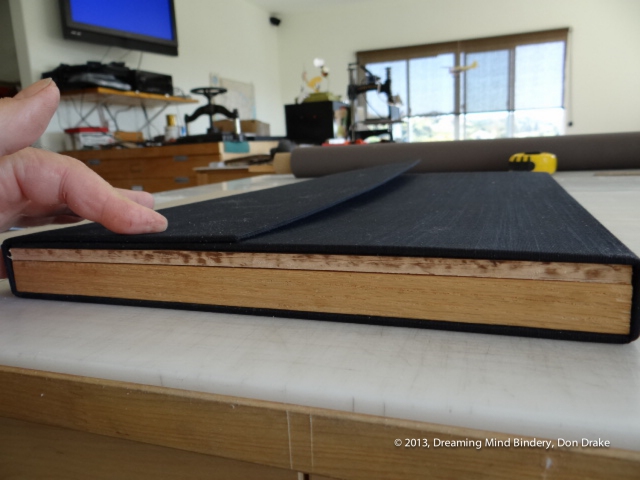
Here I have the case made and the rough cut rails laid in place. Dry fitting a complicated piece like this is critical to make sure everything is fitting the way it's supposed to.
The wooden rails haven't been sanded to their final size yet so I have to hold the cover down.
A second panel will be glued on the right top surface to match the panel that is folded over the top left.

A detail showing how the Jaco Products Coin holder will be held, suspended in the box to protect its surface from scratches.