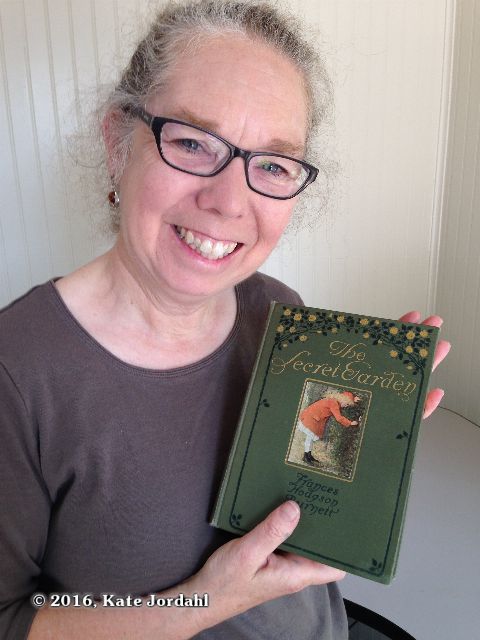
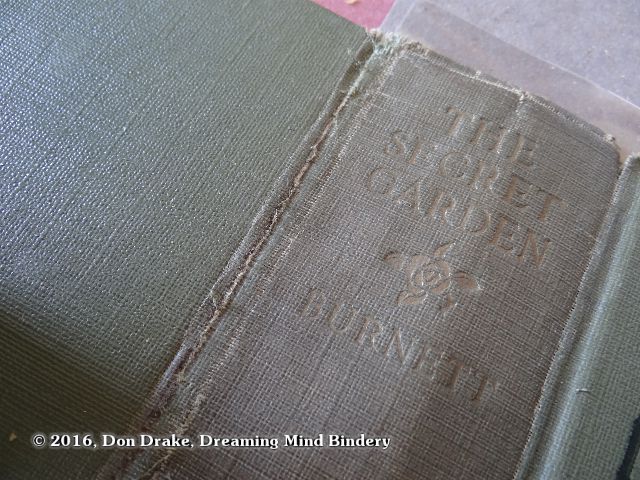
Geir Jordahl brought over a first edition of Frances Burnett's The Secret Garden, his wife Kate's favorite book. He picked this copy up as a birthday gift for Kate. Since intact copies of this volume can top $1000, this one is in need of repair. So, time to get it on the bench and see what can be done.
This will be a fun project since Secret Garden is the book Kate and I have been discussing for 5 years as a publishing project. This year we decided to publish it in serialized form as it was originally published in The American Magazine in 1910. Our subscription project The One Poem Books is wrapping up this year, so Garden should slide nicely into the gap.
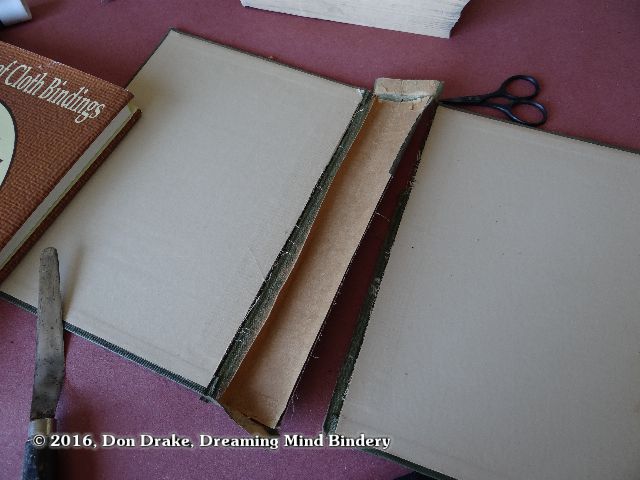
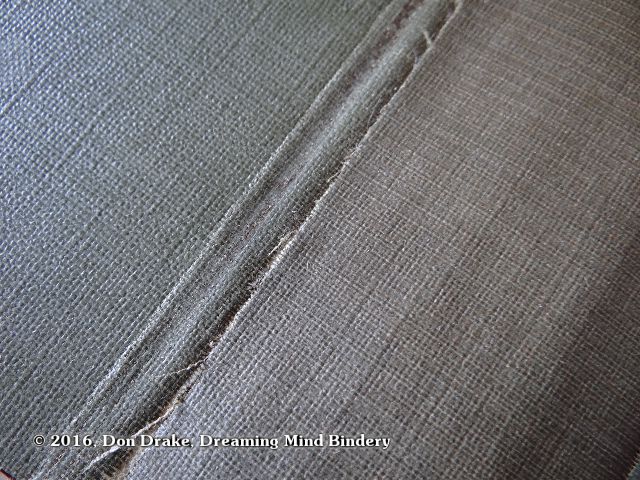
Here's the case, removed from the book block. It was hanging on by just a few thread and the back joint had completely failed.
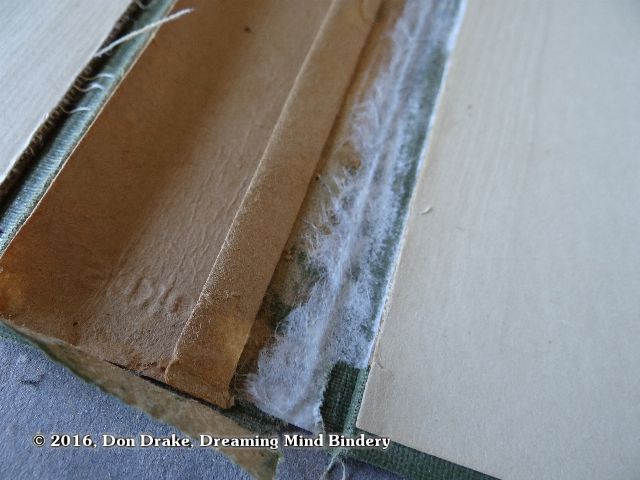
I'm going to lift the spine liner on the inside and run kozo guards out from underneath, across the interior of the cloth joint spanning the break then over to the spine edge of the case boards. This should create a new, and almost completely hidden repair of the hinge.
Here I've attached the kozo guard down the spine edge of the cover board and out along the inside surface the the cloth joint that remained on the cover.
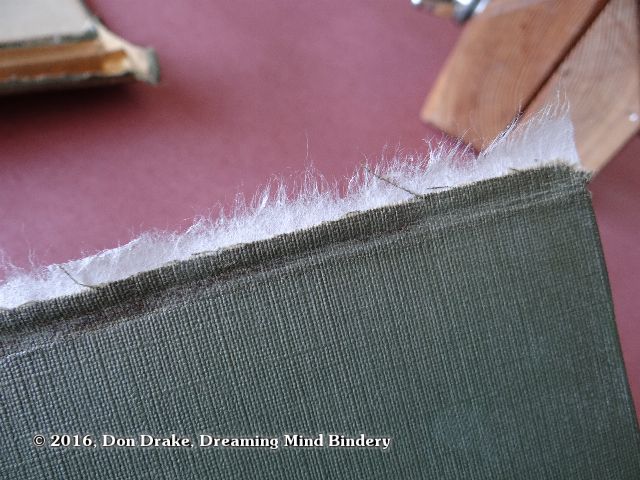 This shows the same stage of repair from the exterior.
Now I've positioned the guarded cover board and the front cover and spine so they align exactly as before. I have the spine folded back to reveal the guard that now extends from underneath the hinge fragment on the back cover.
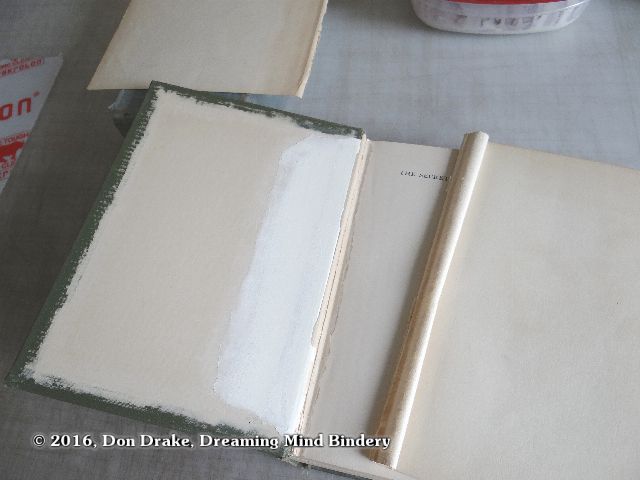
Also notice, the paper liner inside the spine has been folded back along the edge. This will allow the guard to be glued down, then the liner unfolded and glued down to hide it.
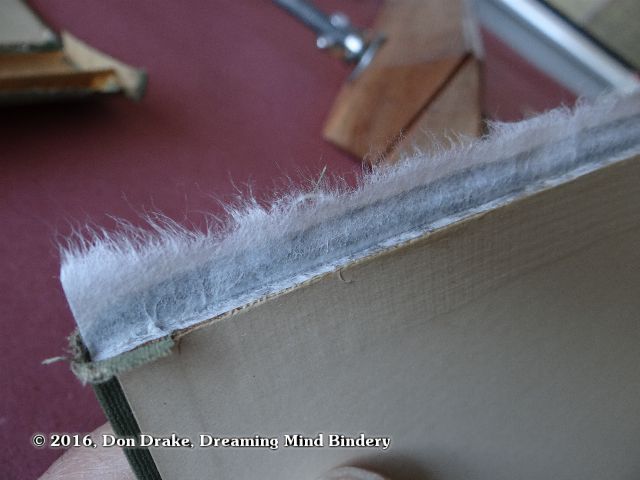
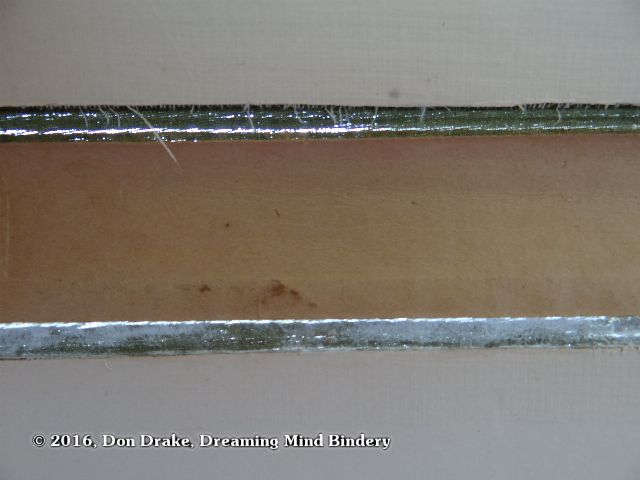
All the boards are held down with weights so they don't move around while I work. A piece of book board covered with Mylar is placed under the spine area and abuts the edge of the cover board. This brings the cloth and guard up to the same plane as the top surface of the cover board so I have a nice flat area at the repair line.
 This shows the spine held in its eventual position. I just want to verify once more that everything will match perfectly once I apply the glue.
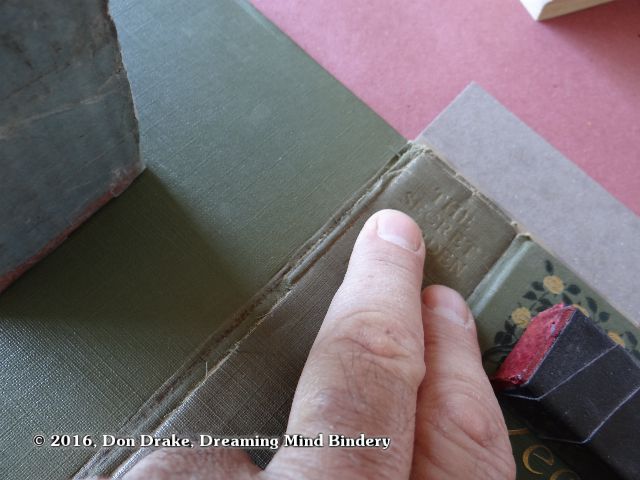
The repaired joint
Another segment of the repaired joint
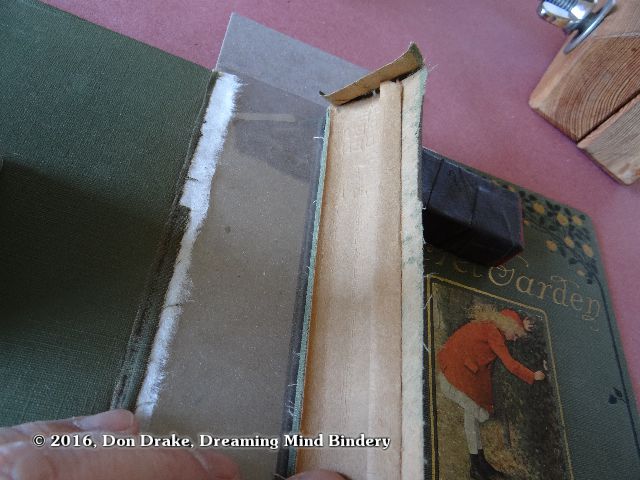
Here is the interior of the joint repair prior to covering it with the spine liner material.
Here I'm holding the cover up to the light so I can see the state of the other hinge (viewed from the interior of the case).
The repaired joint is on the bottom, the liner has been glued down over the guard. You can still see the light through the old break.
The joint on top shows it is nearly broken too. I'll make the same repair but it will be easier because I don't have to reattach the cover board, I just have to reinforce the joint to prevent failure.
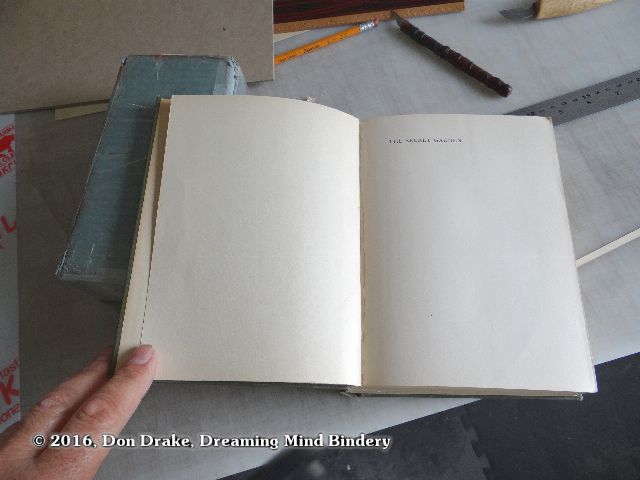
After re-backing the book block and reattaching the covers, I sanded everything out to smooth all the transitions. My friend Rae Trujillo dug through her stock of materials for me and turned up some old end papers left over from some of her scavenging and altered book projects. This gave me material that matched the paper in this 100+ year old book. These sheets could serve as my new paste downs.
After cutting the new sheets to size, I need to do a little work to 'age' the freshly cut edges. Here is an original sheet on top of a freshly cut replacement sheet. The color looks good and after a little work with some 300 or 600 grit sandpaper on the cut edges, I'll have the cuts looking old too.
Here is the result. When I talked to Kate about the book afterwards, she said she had no idea anything had been done to it. That's the compliment a restorer wants!