In August 2016, a Bay Area city which is near and dear to our hearts was selected as an All American City in a nationwide competition. And this city, in turn, selected Geir Jordahl's and Don Drake's collaboration, Traveler as the gift to their Sister city.
If this all sounds somewhat vague, rest assured, we'll provide more details when we can. But we can state with certainty; We are very proud to have our work selected for this honor.
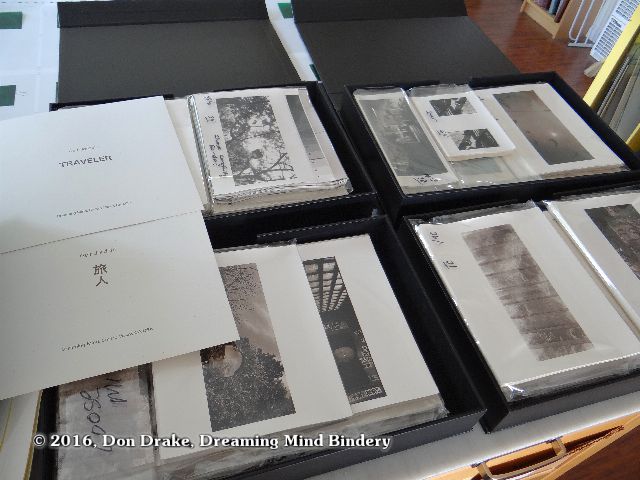
This means all the photographs and pages are coming out for inventory and new copies will be bound.
There's been a lot of water under the bridge since I last made a copy of Traveler. Pulling out all the jigs, dies, documents and components I was happy to discover this.

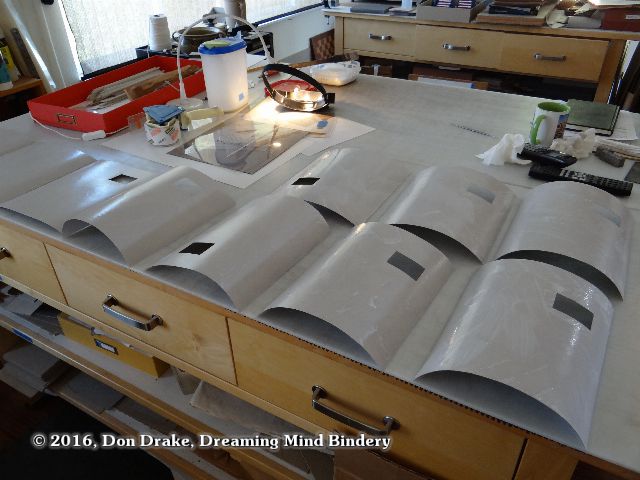
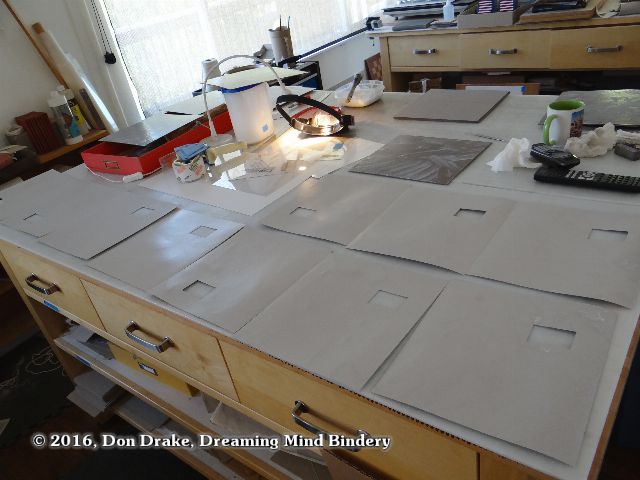
Stamping and debossing the pages
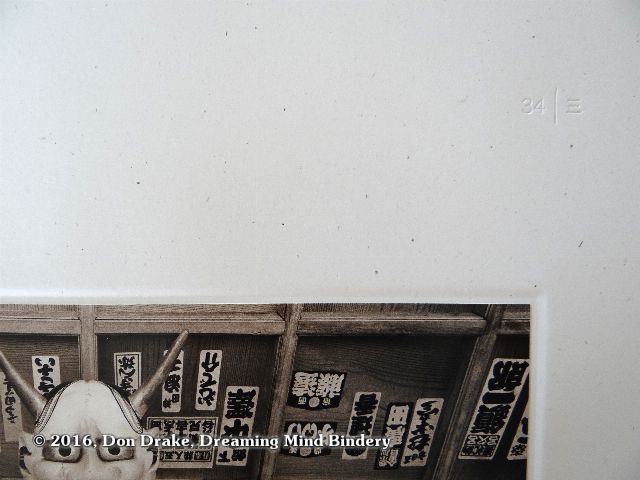
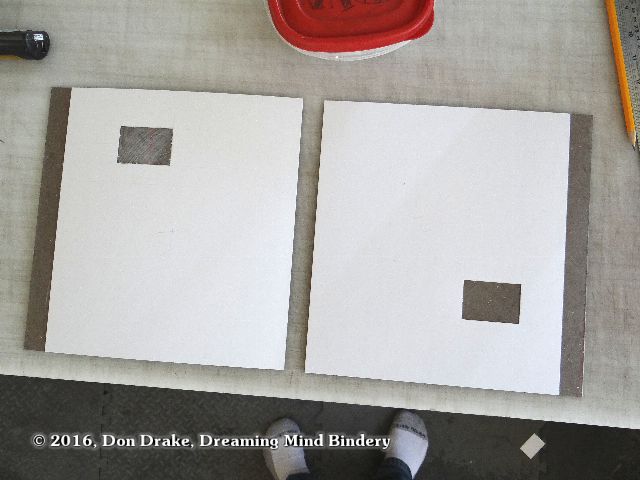
This detail shows the page numbering. Since Traveler is designed to accommodate both western and eastern book norms, there is no front or back. As a result, each image page has two index numbers; the arabic and kanji numbers ascend from opposite ends of the book, crossing in the middle. Here is page 34 (western) and 3 (eastern).
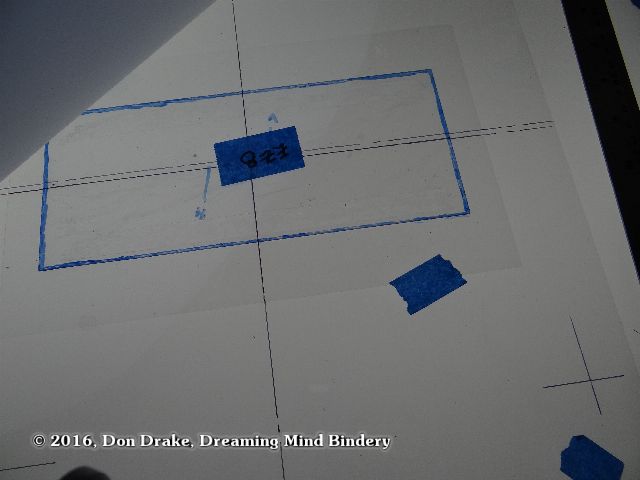
The detail also shows the debossed panel that contains the image. Geir's photos were shot on a wide variety of panoramic cameras resulting in a many aspect ratios for the prints. Templates had to be made for each different image format.
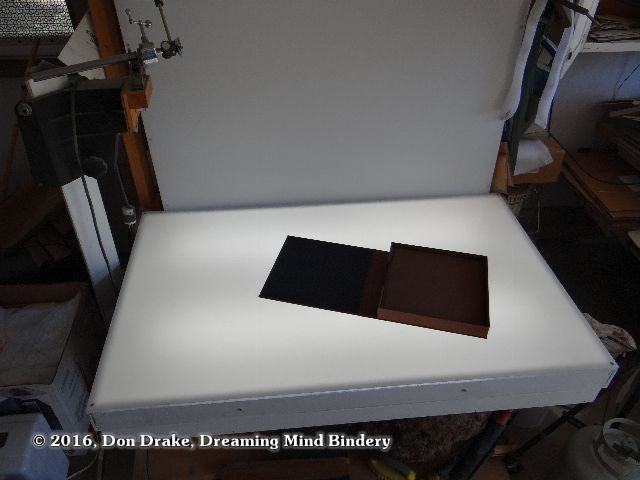
With the task of debossing image panels looming, I needed to clean my light table off. No horizontal surface is safe in my studio and there was a long accumulation on this table. This tool is in my old garage studio that served for 10 years. Top of article
Templates and Debossing

I made a new page guide from Mylar and mounted all my debossing templates on Mylar. This is an improvement over my previous page template system because it lets me work with a light table.

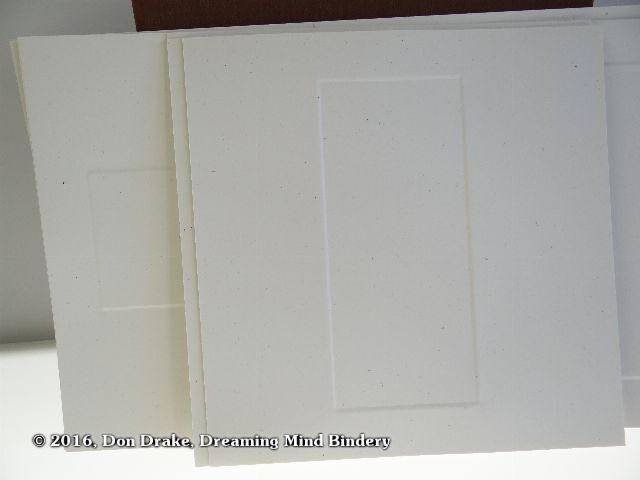
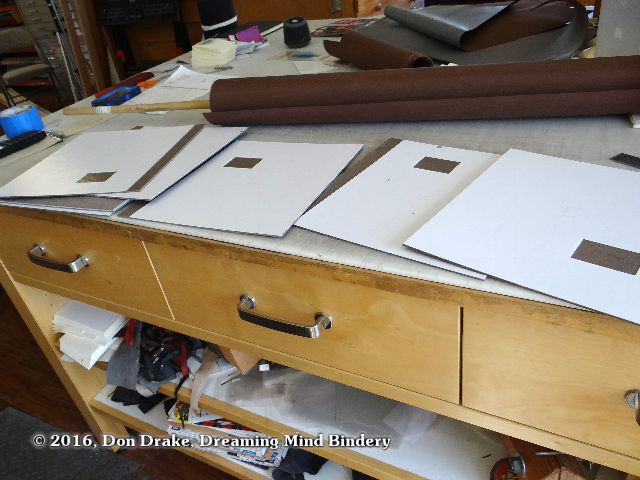
Pages after debossing
Page Assembly
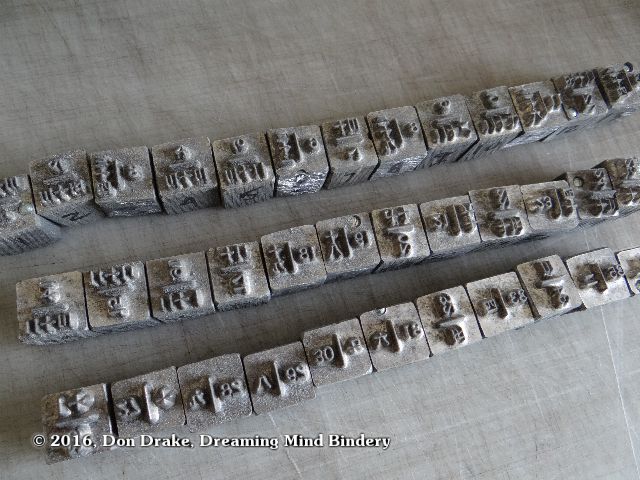
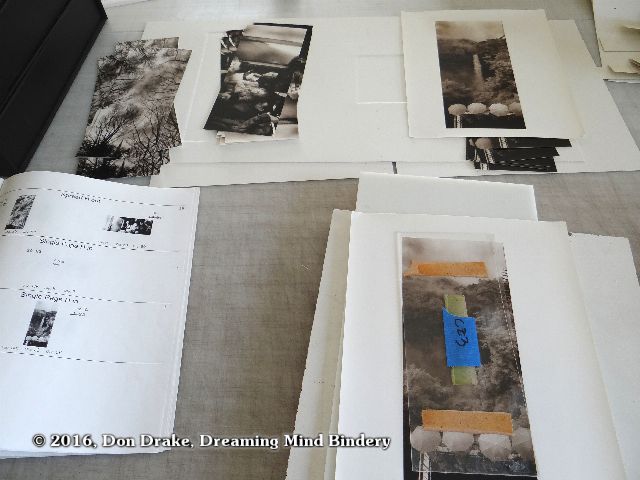
After debossing the panels to contain the images, I have to stamp the page numbers, mount the pictures and assemble the folio components.
With all that done, the book blocks can be sewn.
Sewing the Blocks
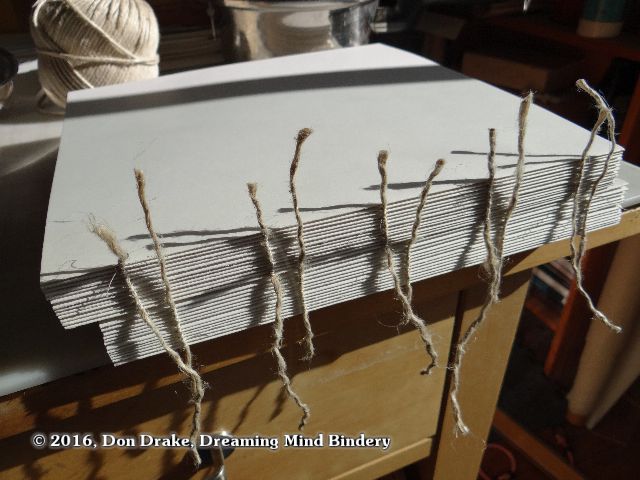
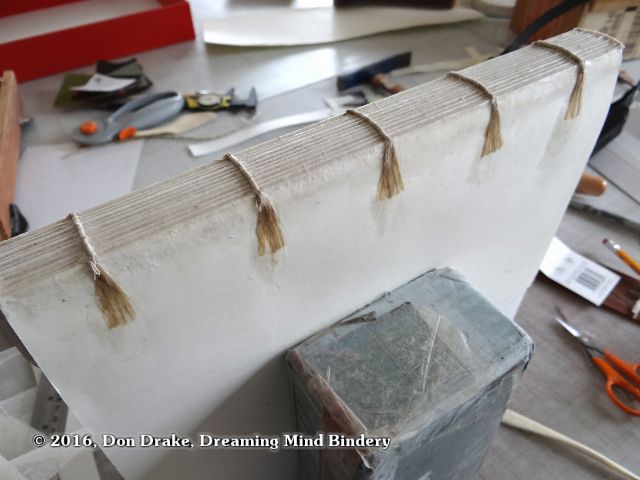
Traveler is a packed sewing. This keeps the spine from compressing; necessary since all the mounted photos make the middle of the pages thicker than the spine.
With 5 cords on each book, packing takes a while. Very fussy work.
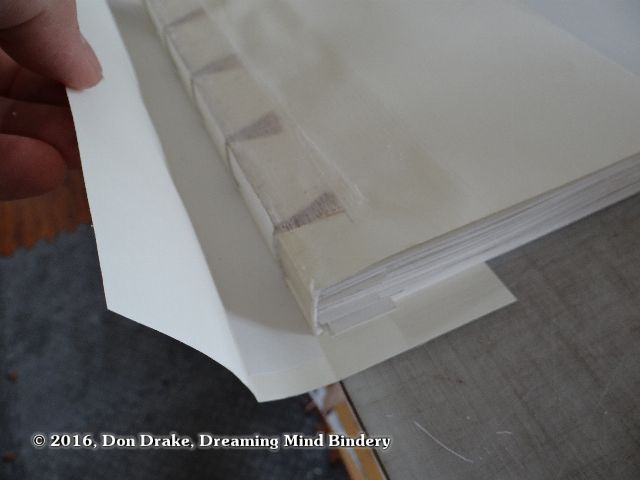
Traveler has sewn headbands. Here's the first one.
The paper tabs are keeping the spine expanded to the same thickness as the pages where the images are pasted down. They'll all be pulled out after all the backing, clamping and pressing processes are completed.
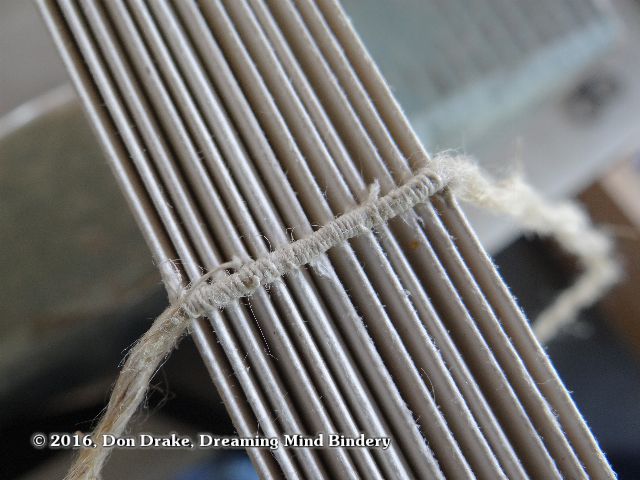
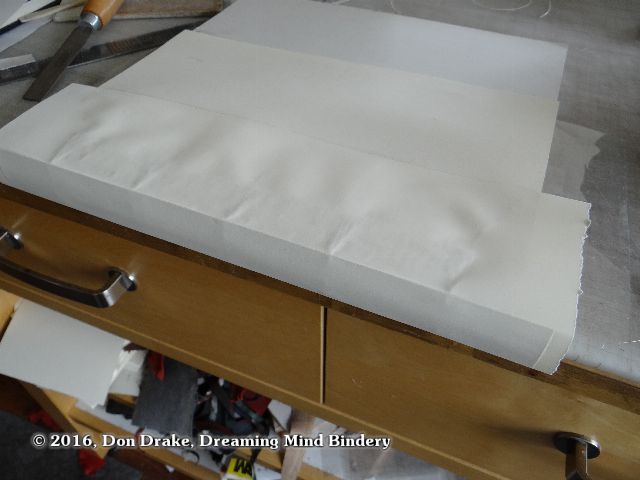
One side effect of the packed sewing that is required for this book is that there is a gap between folios when viewing the open book.
 This prototype shows the basic situation. This gap, if not bridged in some way, means that the signatures can move vertically relative to one another. This creates a 'swimmy' structure and is not something I like in books. This kind of movement can be seen in many non-adhesive structures.
Since this movement is not something I personally like in a binding I've taken steps to engineer it out. As a result, the backing process is quite elaborate.
Backing the Book Block
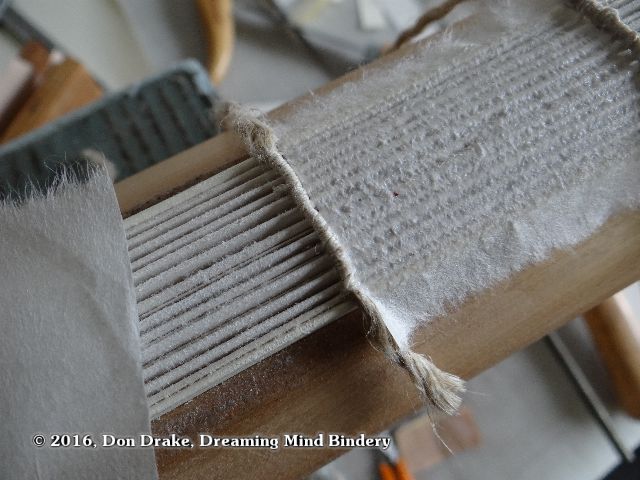
First I sand the folded edge of the folios at the spine side to open up the fiber structure of the paper. Then, using a wheat paste and PVA mixture (the adhesive I use for all these backing processes) I glue patches of kozo between the cords. I use a stiff brush to drive the kozo down onto the folds and slightly between them. I want to create a full mingling of the fibers of the pages and the fibers of the kozo.
Kozo is also known as rice paper in some circles; though it is made with mulberry fibers. These are exceptionally long and strong fibers. When kozo is wet, the fibers can be partially worked lose from the mat of the sheet and this makes them free to mingle with the fibers of my folio spines (which were loosened by sanding).
After the glue is mostly set and all the fibers are locked in place by the drying glue I can apply a second layer of kozo, working it down in the same way.
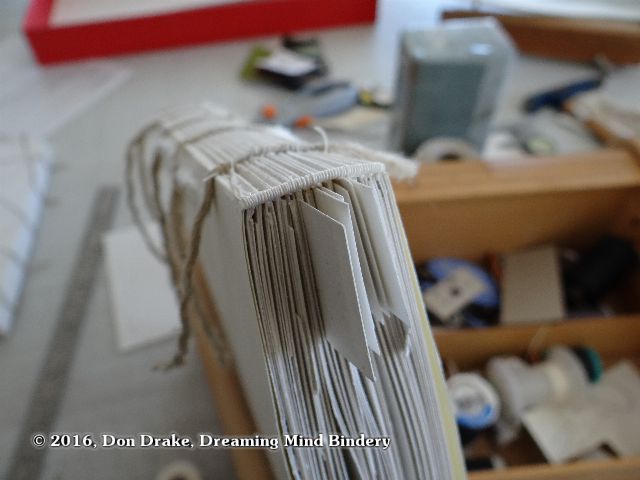
At this stage I trim the cords, feather them out, and glue them down to the waste sheet that is tipped into the book block. The kozo pieces were also made a little wider than the spine so they can also be glued down onto the waste sheets.
Waste Sheet?
The waste sheet is part of a system of components that attaches the book block to the book cover.
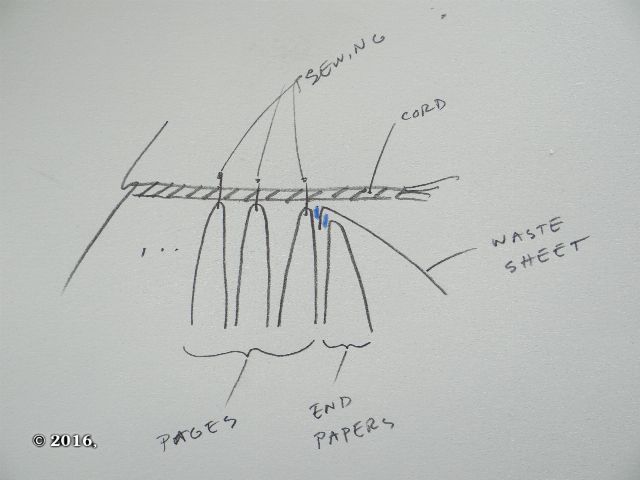
(Blue marks are glue) The page folios are all sewn to the cords. The cords then become the primary component that consolidates the individual folios into a book block. The end papers are a separate folio. A waste sheet is tipped onto the end paper and folded around to its outside. This structure is tipped onto the book block.
With the cords and kozo glued down onto the waste sheet, there are many components now that will work together to carry the weight of the book block when it is glued into the covers.
Finishing the backing
With two layers of kozo in place, I add a third 'strength' layer. This is the mull, an open weave cloth. Also thoroughly driven down to mingle with the previous mat of fibers and glue, the mull is then wrapped down and glued to the waste sheets.
I now have a strong and flexible system that integrates all the folios into a book block and will prevent the movement that I didn't want to see.

The last backing layer is pieces of card stock between the cords to seal all the integrating layers and to better transfer the opening leverage across the folios. The glue-side of the card stock is sanded to open its fibers for more complete integration and to allow better moisture penetration into the stock. This allows it to be sculpted more closely to the contours of the spine.

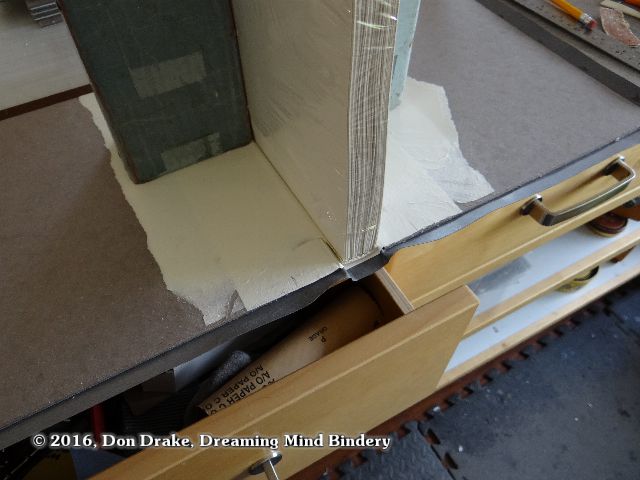
Constructing the covers
With the backing done it's time to turn my attention to the covers. This design requires a laminated construction to create the deboss for the cover image and the debossed strip that will accept the black cloth edging.
As always, laminating and water based adhesives will impart stresses into the structure as the materials expand then dry and contract.
To control this, I use a technique I saw described by Bill Minter on the Book_Arts-L. I prime the surfaces with my adhesive, then let that dry. This will create a moisture migration barrier so when I do the final lamination, the expansion and subsequent shrinking is controlled.
The side that receives the wet adhesive expands and being larger, forces the board to bow.
As the moisture equalizes through the material, then starts to dry, the pieces return to flat.
Once both boards are dry I reapply adhesive and do the lamination.
With that done, and a couple of days to dry things are looking very good. The cloth will now pull the covers concave and the endpapers will balance that and bring them back to their final form.
The bonnet and attaching the covers
Now I make and attach the bonnet. This makes the hollow back.
With that done (and dry) I attach the cover boards. When that is dry it's time to do a little cleanup on the inside of the covers.
This is where the strengths of a Bradel Binding are revealed I think. The sheet that extends farthest toward the fore edge of the book and which is being sanded out here, is the waste sheet. It is tipped into the book block as shown earlier and has both the sewing cords and the mull integrated with it. The shorter sheet that shows through the sanded waste sheet is the bonnet.
All these components work together to carry the weight of the book block in the as it attaches to the case. Later, the cover cloth and the end papers will participate in the job.